

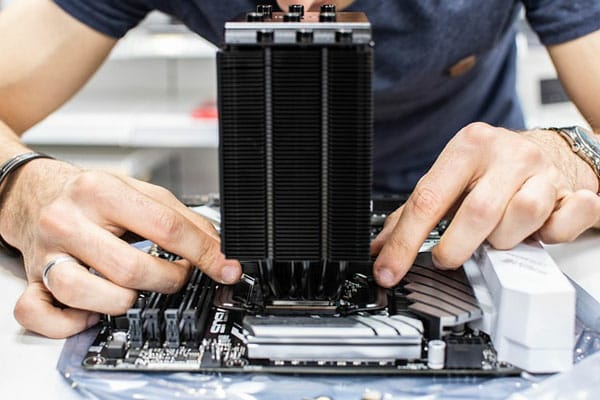
The whole process of building a PC isn’t nearly as difficult today as it was in the past. However, for the first time builder, it can be somewhat nerve wracking. The good news is that, if you’ve done your research beforehand, you shouldn’t make too big a mistake (in the event that you do). Which brings us to this article. Here you will find 8 mistakes that the beginner is most likely to make:
1. Purchase Incompatible Components
One mistake that is probably the most common that the first time builder is likely to make, is the purchasing of incompatible system components. There are several things you can do to determine whether or not the component will work with your setup. There are PC builder services that you can use, simply choose the parts that you would like, and it will do the rest. The other option is simply to research all the products individually. You should find compatibility lists for everything, from RAM to hard drives to CPUs etc. Start with your motherboard, then look to purchase parts that will work with it.
2. Not Using the Standoff Screws
The purpose of the standoff screws is two-fold. The first is to attach your motherboard to the case. The second is to keep the board elevated, so that it’s not shorted by touching the metal of the case. Be sure to screw in the standoffs before you start anything else (like the motherboard installation). The worst situation you’ll ever be in, is having installed everything, only to find out that you forget these screws.
3. Not Plugging Everything In
Before you turn your system on for the first time, take some extra time to double check everything. Ensure everything is plugged in. A lot of people forget to connect the PSU to the motherboard and plug the CPU fan into the appropriate slot. You want to ensure everything is where it should, otherwise you could end up harming your system, even before you’ve begun. Also, don’t forget to switch on the power supply, as it has its own power switch.
4. Acquiring Low Quality PSUs
The power supply unit (PSU) is one area of interest. As there’s a huge different between purchasing one that’s affordable and just getting any cheap low quality variety. The only time you should consider cutting costs on your power supply unit is when you know your PC isn’t going to be particularly powerful.
If you want to purchase the best power supply unit for your system, then you will need to work out how much power you will be consuming. To do that, there are PSU calculator tools, you should be able to find several, by doing a quick Google search.
Additionally, if you’re using a PC build it service, then it should calculate how much power all the different components you’re adding to the system will consume. Which in turn, will give you a rough idea of what to purchase.
Another aspect of the power supply you want to pay close attention to is the +12v rail amperage. As this is what will be powering the graphics card. The component that will draw the most power from your computer. Again, there are calculators you can use to work this out.
If you have intentions of building a high performance gaming rig then you will need to get a high quality power supply unit, as a must. There are many buying guides that will give you the low down on the various power supply units out there, and which ones you should consider buying – so I recommend you look into that.
5. Installing RAM Incorrectly
If you go out and purchase 2 memory sticks for example, then you need to bear in mind that they will need to be installed one slot space apart from one another. Your motherboard’s manual will tell you the correct configuration for the installation of any memory modules that you want. Proper installation is important, as the dual channel feature is very specific. Also, when installing your RAM, be sure to push the memory modules right down into the slot, then double check that none of the connector end is sticking out. Your RAM can only be installed in one way, so if you’re trying to push it in, and it won’t go down, then consider flipping it around.
6. Installing System Fans the Wrong Way
Keeping your system cool is one of the most important aspects of any running system. Your case fans are designed to either push cold air into the case or push warm air out. Depending on its configuration. However, it’s not uncommon for first time builders to install their fans the wrong way – instead of pushing air out, the fan push air in, and vice versa.
If you purchase a PC case that comes with fans preinstalled, then this shouldn’t be an issue, but if want or need to add additional fans to the case, then you need to ensure it’s done the right way. You need to consider the air pressure of your case – which is determined by your fan setup.
7. Forgetting To Install the I/O Shield
One mistake that I’m sure a great many PC builders have made, especially first timers, is to install the I/O shield (that comes with your motherboard) before mounting the board to the case with the standoff screws.
If you forget this one big step in the installation process, then, just like the standoff screws, you will need to remove the motherboard from the case to add the shield. The magnitude of work differs depending on how far into the installation you are before you realise your mistake.
To avoid making this fairly common mistake, I recommend you install the I/O shield first. Keep in mind that the shield can be installed upside down, so you will need to ensure everything is properly aligned. Once that’s done, add your standoff screws, then attach the motherboard to the case. Make sure everything lines up while doing this, the I/O shield will usually offer some kind of resistance, so you will need to hold it in place, while screwing it in.
—AUTHOR INFO—
Uchenna Ani-Okoye is a former IT Manager who now runs his own computer support website https://www.compuchenna.co.uk.

