
Floor Sanding and Restoration Guide: Achieving Perfect Timber Floors with Professional Techniques
Timber floors are one of the most attractive features in any home or commercial space. They bring warmth, elegance, and long-lasting value when properly maintained. However, over time, even the highest-quality wooden floors begin to show signs of wear—scratches, dullness, stains, and uneven surfaces become unavoidable.
This is where professional sanding and restoration come in. Whether you are renovating an older home or refreshing your interior, understanding the process of floor sanding can completely change the look and feel of your space.
In this guide, we’ll explore everything you need to know about floor sanding, refinishing, tools, techniques, and why many homeowners choose expert services like floor sanding north shore to achieve high-quality, lasting results.
Why Floor Sanding Is Important
Floor sanding is not just about improving appearance—it is about restoring the structural beauty of timber flooring.
Over time, wooden floors are exposed to:
- Foot traffic and scratches
- Furniture movement
- Moisture damage
- Sun fading and discoloration
- General wear and tear
Sanding removes the top damaged layer of the timber, revealing fresh wood underneath. This creates a smooth, even surface that is ready for polishing, staining, or sealing.
The benefits include:
- Restored natural beauty of wood grain
- Increased property value
- Improved durability and lifespan of flooring
- Easier cleaning and maintenance
- A modern, refreshed interior look
Understanding the Floor Sanding Process
A professional floor sanding job typically follows a structured process to ensure precision and quality.
1. Inspection and Preparation
Before sanding begins, the floor is inspected for damage such as deep scratches, loose boards, or moisture issues. Furniture is removed and the area is cleaned thoroughly.
2. Coarse Sanding
Heavy-duty sanding machines are used to remove old finishes, stains, and surface imperfections. This is the most aggressive stage and sets the foundation for smoother layers.
3. Medium Sanding
The floor is sanded again using a finer grit to smooth out scratches left by the initial sanding.
4. Fine Sanding
A final sanding pass ensures the surface is completely smooth and ready for finishing.
5. Edge Sanding
Corners and edges that machines cannot reach are carefully sanded by hand tools.
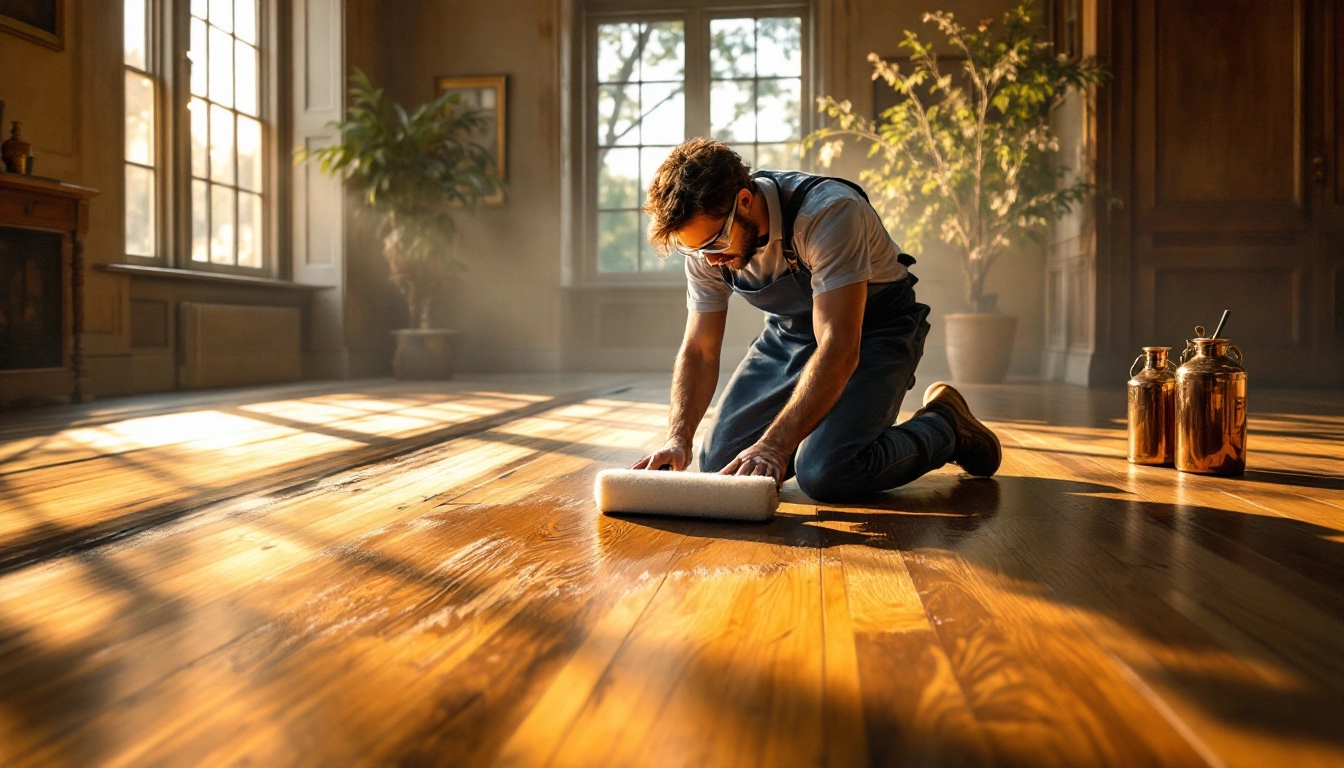
6. Polishing and Finishing
Finally, a protective coating such as polyurethane, oil, or lacquer is applied to seal the timber and enhance its appearance.
DIY vs Professional Floor Sanding
Many homeowners consider sanding their floors themselves to save money. While DIY sanding is possible, it requires skill, patience, and the right equipment.
Common challenges include:
- Uneven sanding marks
- Over-sanding or damaging timber
- Dust control issues
- Incorrect finish application
- Time-consuming process
Professional services, especially in areas with high standards like residential renovation markets, ensure a smooth, flawless result. This is why many people prefer services such as floor sanding north shore, where experienced specialists use commercial-grade equipment and proven techniques.
When Should You Sand Your Floors?
Not every floor needs sanding immediately. Here are some signs it might be time:
- Deep scratches and dents are visible
- The floor looks dull or patchy
- Stains that cannot be cleaned
- Splintering or rough texture
- Old finish is peeling or worn out
As a general rule, most timber floors can be sanded every 7–10 years depending on usage and maintenance.
Choosing the Right Equipment
The quality of sanding depends heavily on the equipment used. Professional sanders typically use:
- Drum sanders for main floor areas
- Orbital sanders for finer finishing
- Edge sanders for corners
- Dust extraction systems for cleanliness
For those considering DIY projects, it is often necessary to hire floor sander machines from hardware stores or rental services. These machines can be effective but require careful handling to avoid damaging the floor surface.
Tips for Using a Floor Sander Safely
If you decide to take on the task yourself and hire equipment, follow these important tips:
Start with the Right Grit
Always begin with coarse grit sandpaper and gradually move to finer grades. Starting too fine will not remove old finishes properly.
Keep the Machine Moving
Never leave the sander stationary while it is running, as it can create deep marks in the timber.
Sand Along the Grain
Always follow the natural direction of the wood grain to avoid scratches.
Use Dust Protection
Sanding produces fine dust that can be harmful if inhaled. Always wear masks and ensure ventilation.
Practice First
If you are inexperienced, test the machine on a hidden area before sanding the entire floor.
Common Mistakes to Avoid
Floor sanding looks simple but small mistakes can cause costly damage.
Avoid:
- Skipping sanding stages
- Using incorrect grit progression
- Applying uneven pressure
- Over-sanding thin timber floors
- Rushing the finishing process
Taking time and following proper technique ensures long-lasting results.
Finishing Options for Timber Floors
Once sanding is complete, choosing the right finish is essential for both appearance and protection.
Polyurethane Finish
Highly durable and resistant to scratches, ideal for high-traffic areas.
Oil-Based Finish
Enhances natural wood color and gives a warm appearance.
Water-Based Finish
Dries quickly, low odor, and maintains lighter wood tones.
Matte vs Gloss Finish
- Matte gives a natural, modern look
- Gloss provides a shiny, polished appearance
Maintenance After Sanding
After your floors have been professionally sanded or refinished, proper maintenance is key:
- Clean regularly with a soft broom or vacuum
- Avoid excessive water exposure
- Use furniture pads to prevent scratches
- Reapply polish when needed
- Wipe spills immediately
Good maintenance ensures your floor stays beautiful for many years.
Why Professional Services Are Worth It
While DIY can be tempting, professional floor sanding provides long-term benefits:
- Perfect, even finish
- Faster completion time
- Dust-free sanding systems
- Expert knowledge of timber types
- High-quality protective coatings
That is why many homeowners rely on specialists like floor sanding north shore for premium results that enhance both appearance and property value.
Renting Equipment vs Full Service
If you are on a budget, you might consider renting equipment and doing it yourself. This is where the option to hire floor sander becomes useful.
However, there is a clear difference:
- Renting equipment saves money but requires effort and skill
- Professional services cost more but deliver guaranteed results
Your decision should depend on:
- Size of the area
- Your experience level
- Time availability
- Desired finish quality
Final Thoughts
Floor sanding is one of the most effective ways to restore the beauty of timber floors. Whether you choose to do it yourself or hire professionals, understanding the process helps you make better decisions and avoid costly mistakes.
If you want a flawless, long-lasting finish, professional services like floor sanding north shore are often the safest and most efficient choice. On the other hand, if you are confident in your skills and willing to put in the effort, you can hire floor sander equipment and take on the project yourself.
Either way, proper sanding and finishing will transform your floors, improve your home’s aesthetic, and add lasting value for years to come.